

Summary
Need to capture your Mac’s screen? This guide will show you how to use built-in tools and keyboard shortcuts to capture full and partial screens on your computer, so keep reading to know more!
Introduction
The ability to capture high-quality video and audio is crucial whether you’re capturing a web page, recording a PowerPoint presentation, or want to save anything you see on your screen. This article will present an overview of the many techniques for capturing your screen on a Mac, including built-in tools and third-party apps.
To guarantee that you get the best possible outcomes, we will guide you through the procedures of each approach and provide illuminating pointers. Let’s get started capturing the screen of your Mac if you’re ready to get started with that right now.
Whether Mac Computer Have a Screenshot Shortcut?
Yes, a keyboard shortcut designed for Macs lets you easily take screenshots. Pressing Command + Shift + 3 on your keyboard will bring up the screenshot menu. This will create a PNG file on your desktop with an image of your whole screen. Use the keyboard shortcut Command + Shift + 4 to capture just a portion of the screen. You may then click and drag to define the bounds of the area you want to record. A PNG image of the specified region will be saved to your computer’s hard drive.
You may also take screenshots without saving them to a file on your desktop using the shortcut keys (Command + Control + Shift + 3) or (Command + Control + Shift + 4). This is the way to go about it if you wish to utilize the screenshot in another program without storing it.
How to Capture Screen on Mac with Simple Clicks?
You may need to capture a customizable screenshot on Mac when you want to save useful information showing on your Mac screen. In this case, you can give Gemoo Snap a free try. As a professional snipping tool for both Mac and Windows computer, Gemoo Snap enables you to take screenshot of anything you want on your computer interface. It is especially feasible when you surfing on the Internet and seeking to take entire webpage a screenshot. Now, please take the following steps to learn how to use Gemoo Snap to capture screen on Mac.
Step 1. Free install and open Gemoo Snap on your computer and then you will see the interface as below.
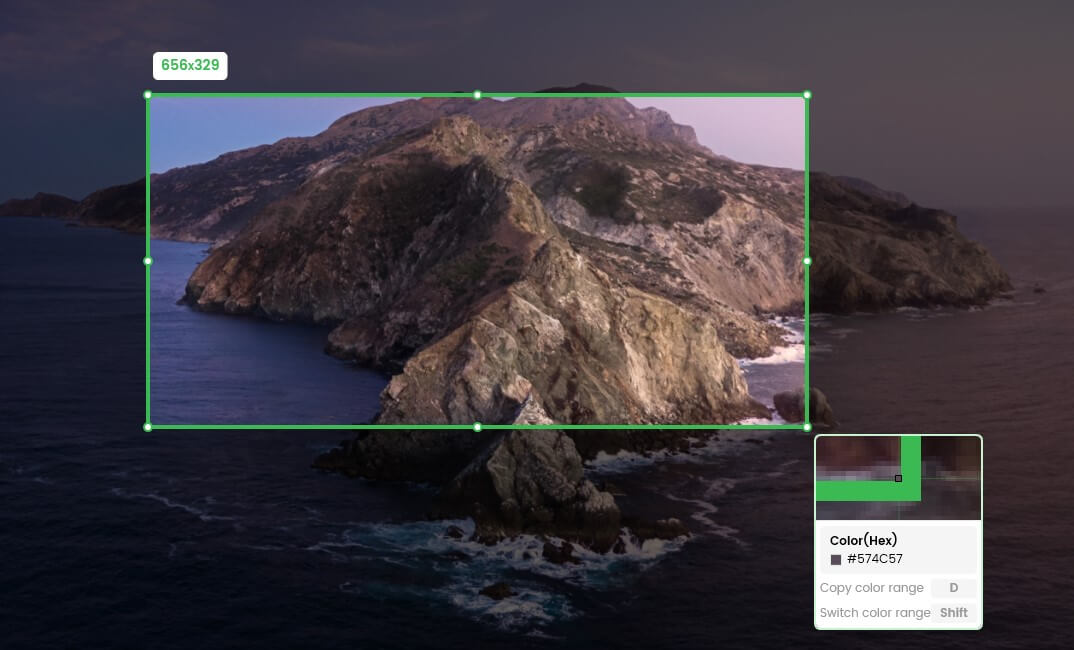
Step 2. Select the whole or a portion of your screen on Mac to capture.
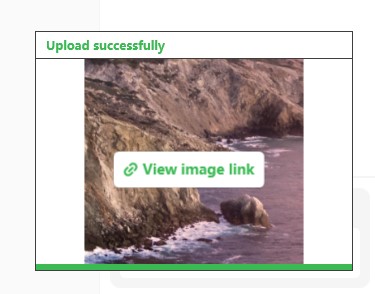
Step 3. When you finish taking a screenshot, the picture will be uploaded to the cloud.
How to Capture Full Screen on Mac?
On a Mac, you may take a screenshot of a whole page using the integrated shortcut into the operating system. Take a screenshot of the whole screen using this technique by following these steps:
Step 1: On your keyboard, press the combination of Command + Shift + 3.
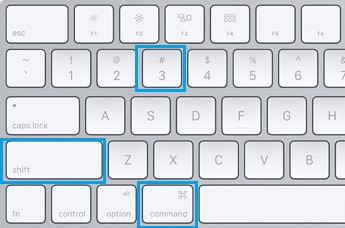
Press Command+Shift+3
Step 2: The screenshot will be taken, and a copy of it will be stored as a PNG file on your desktop. Screenshot [date] at [time].png is the name that will be given to the image file, where “date” and “time” refer to the date and time that the screenshot was captured.
Note: If you want to take a screenshot of the whole screen but don’t want to save it as a file on your desktop, you may use the shortcut Command + Control + Shift + 3 instead. A copy of the screenshot will be copied to the clipboard. If you wish to copy and paste the snapshot into another program without saving it as a separate file, this feature may come in handy.
How to Capture Partial Screen on Mac?
Macs have a built-in shortcut that allows you to take a screenshot of a selected screen region by pressing the Command () + Shift () + 4 keys simultaneously. Follow the steps below to capture a partial screenshot:
Step 1: Use the keyboard shortcut + + 4 (Command + Shift + 4).
Press Command+Shift+4
Step 2: A crosshair will appear where your cursor was before. Drag and click on the screen to define the region you wish to save.
Drag And Click On The Screen For the Screenshot
Step 3: Let go of the mouse to save the current selection as a PNG. Your computer’s default save location is the desktop, where the file will be placed.
The solution is as simple as that! The screenshot keyboard shortcut allows you to easily take a snapshot of a selected screen region in almost any Mac program or window. Note that the keyboard shortcut Command + Shift + 3 may capture the full screen rather than a selected region. This will create a PNG file on your desktop with an image of your whole screen.
Where Can You Find Your Mac Screenshots?
Screenshots taken on a Mac are stored in the PNG file format on the desktop by default. When you take a screenshot by using the shortcut that is built into your operating system, the file that is created will have the name “Screenshot date at time.png,” where the date and time reflected when the screenshot was taken.
You may locate the screenshots you have taken on your Mac by navigating to the desktop and searching for files whose names begin with the word “Screenshot.” You may also search for the files using the Finder program by either their name or the sort of file they are. Take note that the snapshot will be transferred to the clipboard rather than saved as a file if you use the keyboard shortcuts Command + Control + Shift + 3 or Command + Control + Shift + 4. The snapshot may be pasted into another program by simultaneously pressing the Command and V keys.
Final Thought
Taking a screenshot on your Mac is a procedure that is both fast and simple owing to the built-in screenshot shortcut. You may take screenshots of your screen as PNG files and store them on your desktop by using the shortcut for taking screenshots. These screenshots can be of the full screen or a specified screen region.
Capturing the screen of your Mac is an invaluable skill, regardless of the technique you use, since it enables you to take screenshots and share them with others. Screen capture is a useful tool that may help you get things done quickly and effortlessly, whether you’re developing a lesson, making a video chat, or just wanting to preserve anything you see on your computer screen. We hope the information provided in this article helped to resolve your query; let us know your feedback in the comments.